The Wanderer
Some things from childhood are hard to shake off, and the urge to repurpose things is one of them. Old pillowcases were transformed into dresses by mum and my first pushbike was rescued from the dump by dad. Five year old me thought the many layers of peeling paint was beautiful like a rainbow.
Such things stick and we carry them through into adulthood. I have been known to quietly hide things in the garage cupboard after my husband declares it fit for the rubbish pile, just in case I find a use for it later. I usually do.
A few years ago, I found a way to recycle old sheets into waterproof tarps and lo and behold, when I tried it for myself, it actually worked a treat. Fast forward to a week ago and a linen cupboard clean out left me with an old cheapo sheet that my husband declared was fit for the rubbish. I thought this was as good a time as any to give it a new lease on life and share the process with you.
So without further chit chat, here’s how to recycle your old bed sheets into waterproof tarps. It’s easy, I promise!
what you will need
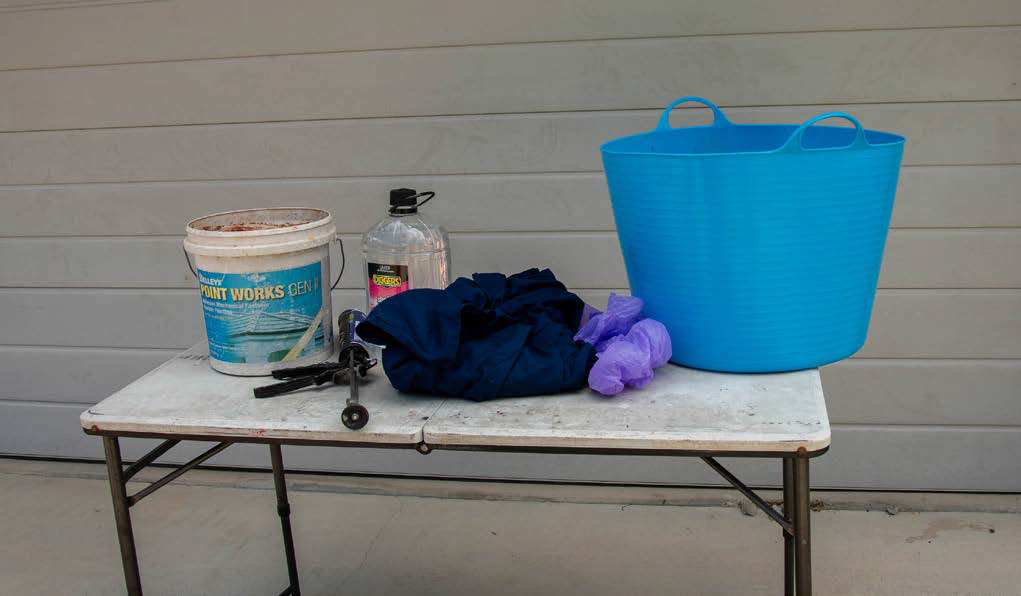
What you need for this DIY project:
• An old sheet
• Shellite (sold in the solvent section at Bunnings)
• Silicone tube (sold in the silicone section at Bunnings)
• A tough garbage bag
• A 10L bucket
• A larger tub (optional)
• Gloves
Tip: Do this project outside. Shellite is a solvent and has an odour that you don’t want to be in an enclosed space with. The reason I use Shellite as my solvent is that it’s low residual and not as harsh as some other solvents, making it less likely to damage the materials it comes into contact with.
STEPS:
To begin with, you’ll need to estimate the volume of the sheet you are working with. Do this by scrunching it up and pushing it down really hard into the bucket. My bucket was 10-litres and my sheet looked like it sat around the 2-litre mark.
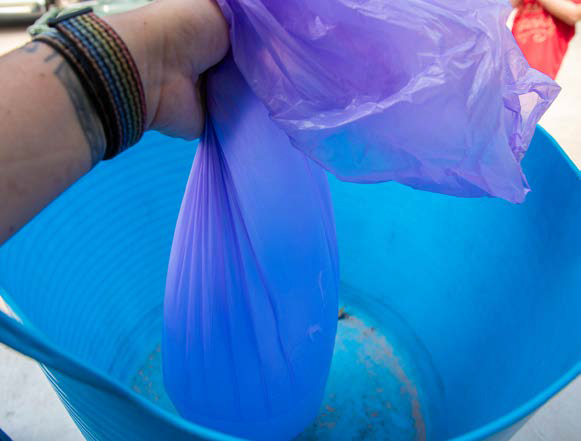
Next, you’ll need to take the sheet out of the bucket and line your bucket with your garbage bag. You’re going to pour the shellite in here as this will contain the mess and fumes while you’re working with it but first, you need to work out how much to pour in.
The ratio that worked for me and many others is ¾. By this, I mean that if your sheet filled the bucket at around the 2-litre mark, you should pour around ¾ of this amount into your bag-lined bucket. In this case, because my sheet was indeed 2-litres, I poured in 1.5-litres of Shellite.
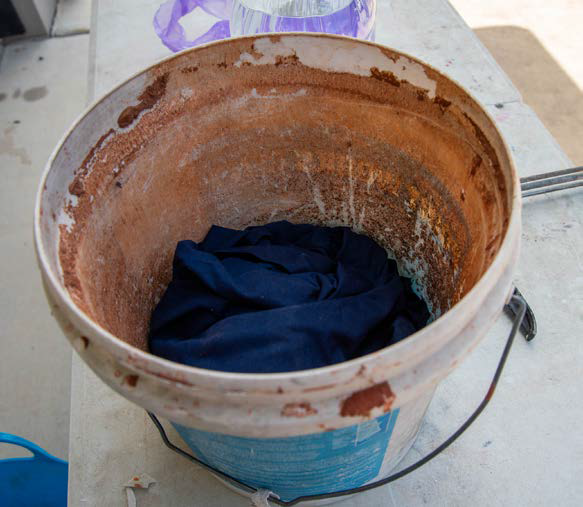
Push your dry sheet into the bottom of the bucket to estimate how much Shellite is required
The silicone I used is also from Bunning and it doesn’t really matter whether you get the cheap one or the expensive one as long as it says 100% silicone on the tube. I went for Selley’s Translucent Roof and Gutter silicone as it was on special. The ratio to use here is a 5 to 1 ratio of solvent to silicone. As I poured in 1.5-litres of solvent, this means I needed 300g of silicone. The silicone I purchased came in a 300g tube, so this worked out perfectly.
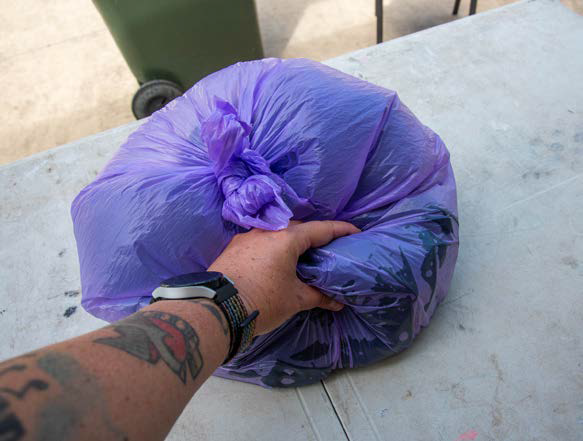
Squeeze the silicone into the bag with the Shellite. For those who have a larger tub, now is the time to get it out and ready to use. The larger tub is purely to collect any spills if you’re a bit rough with the bag and it leaks. Wearing gloves, hold the bag shut with one hand and using your other hand, gently massage the bag to mix the silicon and Shellite together while holding it over the large tub. When it kinda feels like maple syrup and has an even texture no matter where in the bag you feel it, it’s ready to go.
Now, go ahead and put your sheet in the bag with the mixture and loosely tie a knot in the top. You can now rest your bag in the bottom of the large tub, but one hand still needs to hold the top upright to prevent spillage. Once again, gently manipulate the bag so that the fabric soaks up all the liquid.
Mix the silicone and solvent in a garbage bag to contain the mixture
At this point, the fabric will have soaked up the majority of the liquid, so spills aren’t such a big risk now. Knead it around to make sure the silicone mixture gets into every fibre. You’ll need to do this for about five minutes, at which point, you can open the bag and check if there are any dry spots. If there are, keep massaging the mixture into the dry spots.
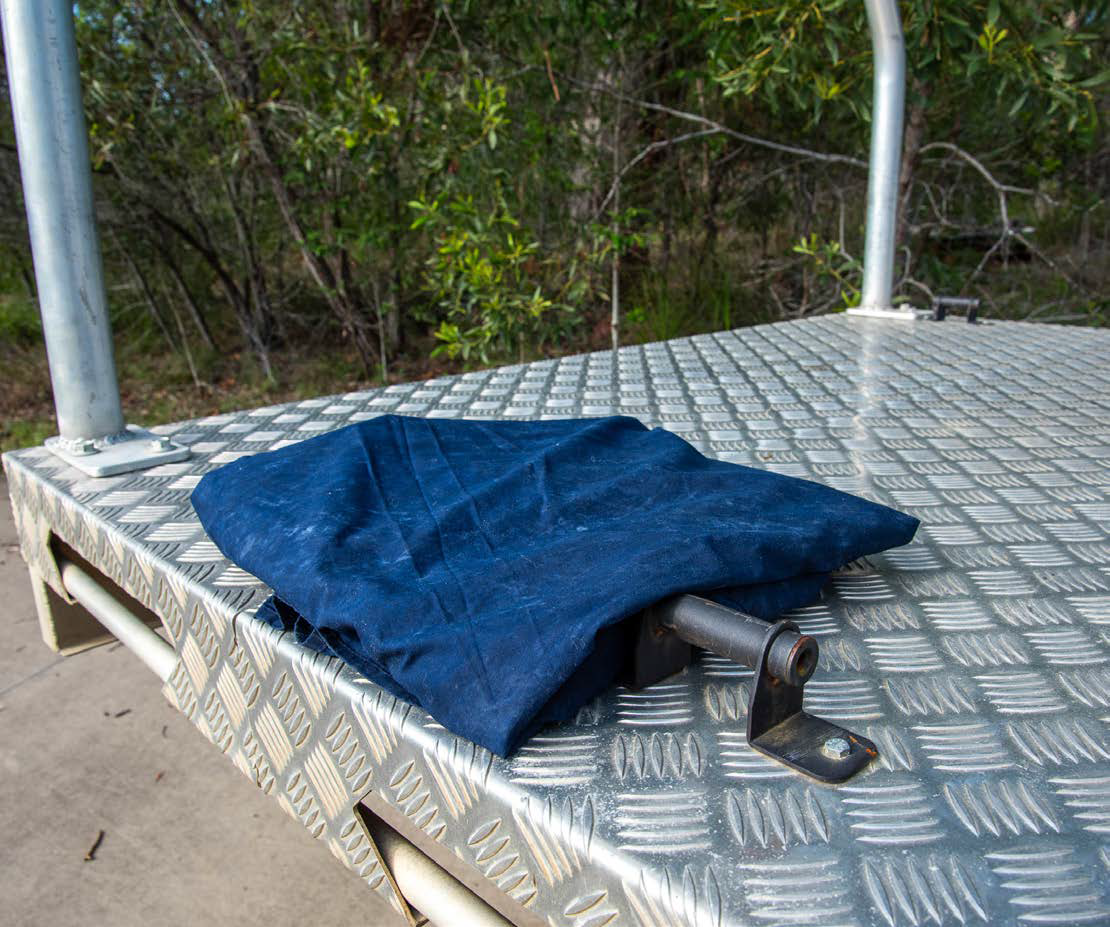
On the other hand, if your sheet is completely saturated, feel free to hang it up on the line to dry. It only takes an hour or two to dry on a sunny day and once it does, you’ll be able to spray it with a hose and watch the water bead right off it. Now that it’s dry, you’ll also notice how soft and easy to fold the fabric is compared to a normal plastic tarp.
Mine is destined to be used as a cover for the dog’s crate but as you know, waterproof fabric is handy and has many uses. What will you use yours for?
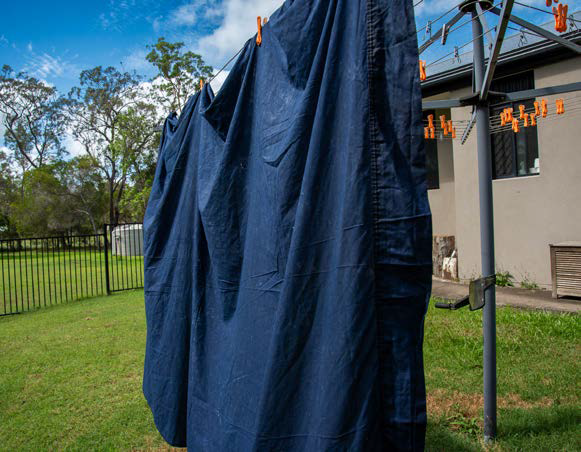
When the entire sheet is wet with no dry spots hang it on the line to dry
Do you have a great DIY project? We would love for you to send it in so we can share it with our fellow CMCA members. Send your projects to editorial@cmca.au.
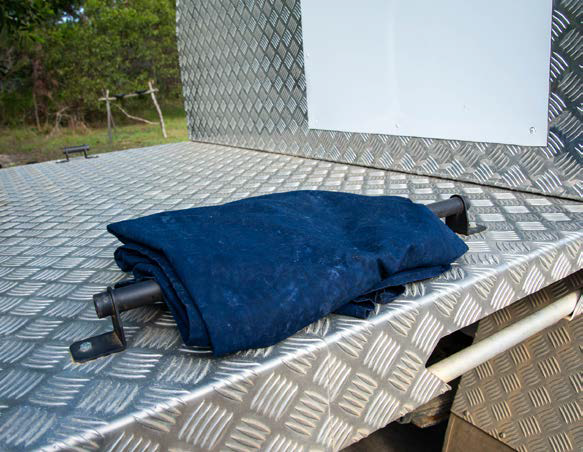
A recycled sheet retains its soft texture and foldability
Category: Features
Written: Thu 01 Feb 2024
Printed: February, 2024
Published By: The Wanderer