The Wanderer
BLOOMING BRILLIANT
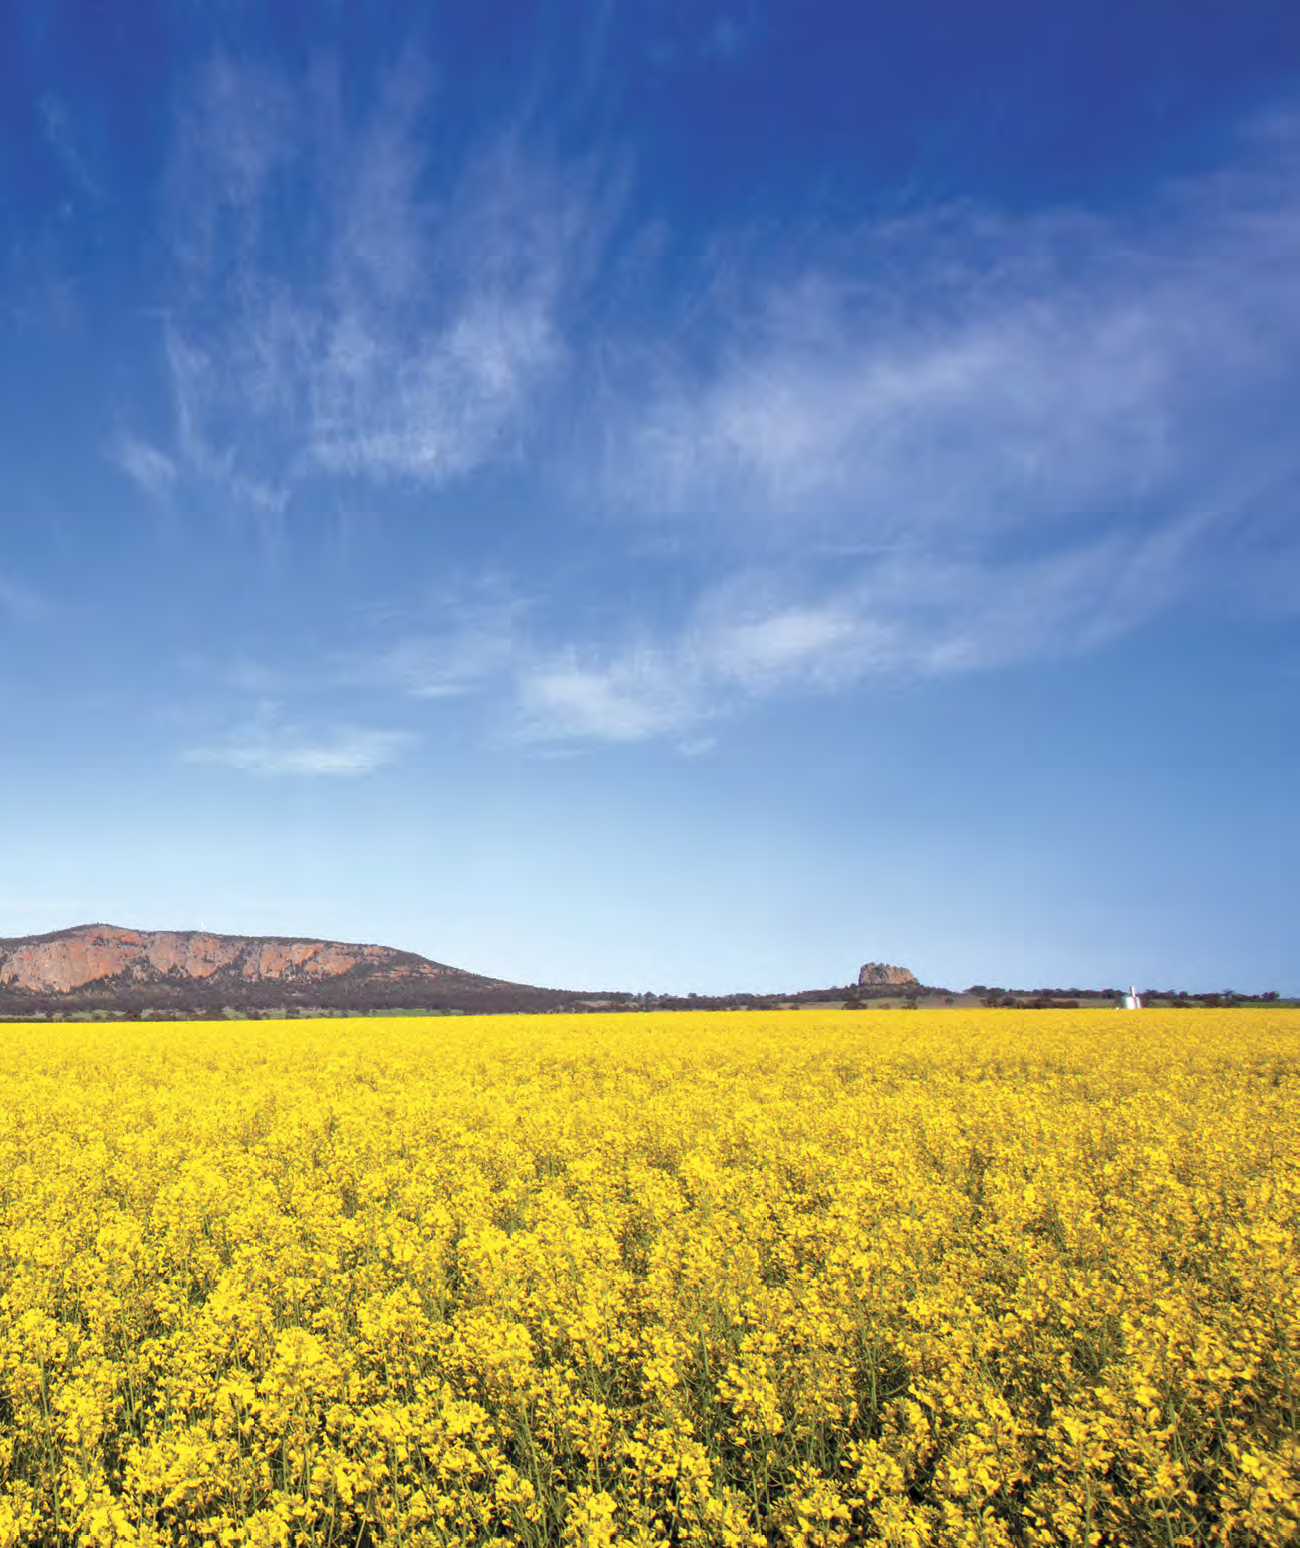
It’s no secret that spring is the time when Australia’s native flora explodes with colour — particularly in the southern half of the country where the seasons are more distinctive. Some areas, like Western Australia or Victoria’s Grampians Ranges, are known for their spectacular wildflower displays. Nevertheless, if you want to photograph them, it’s best to do some research beforehand. Avoid wasting time by calling regional tourism offices, visitor centres or park rangers in advance. You’ll then find out the best places, trails and months to find wildflowers.
Once you’re there, try different ways of photographing them. Many cameras today include automatic presets for portrait, sports and landscape photography. The flower illustration that’s often used on camera wheels — the dials on the top side of the camera — is for extreme close-ups of small subjects, like flowers or insects. This is called macro photography.
Macro photography works by using a large aperture (a low f-stop number, such as f1.4 or f2.8) to focus on just a small part of an image, blurring foreground and background components. The camera will automatically input a large aperture setting and the shutter speed and ISO will vary depending on the amount of available light.

Look for photogenic foregrounds to place beneath the Milky Way
A lens aperture, by the way, can be defined by the size of the opening through which light enters the camera. A larger opening will allow more light to enter the camera. But the caveat is that your image will be blurred around the edges — ideal for portrait or macro photography. Conversely, a smaller opening will reduce the amount of light that’s able to enter the camera, but the overall image will be sharper.
By using a small aperture (a high f-stop number, such as f/22 or f/16) setting on your camera, more of the image will be in focus — this is well-suited for landscape photography. Rotating your camera wheel to the mountain icon will dial in landscape settings automatically.
I suggest trying both, as both types of images — macro and landscape — help tell a ‘story’ about the location you’re visiting. If you remember the phrase ‘a picture tells a thousand words’ and adopt that logic, two pictures would tell 2000 words, and so on. Browse through the pages of any magazine and what you will typically see is a combination of wide-angle shots and close-ups used for any story. Too much of one or the other isn’t as interesting as a mix of the two.
Balance your camera on something stable like a fence rail or rock if you don’t have a tripod!
Start by zooming in on a single flower using your camera’s macro setting (or by manually setting your aperture, shutter speed, and ISO, if you know how) to get the classic portrait shot. You can practice this in your backyard or at the local park before you hit the road.
Next, add to your ‘story’ by using your lens’ widest angle (16mm or 24mm, for example) to capture the flowers in their surrounding landscape. Your camera’s landscape facility (the mountain icon) will make it easier for you by setting a narrow aperture — anything between f/11 and f/22 — so that the entire image – or most of it, at least – will be sharply focused.
For a different perspective, try changing your angle. By this I mean move around, taking photos from different locations and heights. Instead of standing upright with your camera, crouch down low. Photographs of children and animals are always more engaging when you get down to their level — likewise with flowers. Zoom in on the flower at its level. Alternatively, shoot from directly above the flower then fill the frame so that the petals reach each corner of the image. This is far easier with garden flowers though, as they tend to be bigger than the average native wildflower, so fill the frame with a closely packed bunch of flowers.
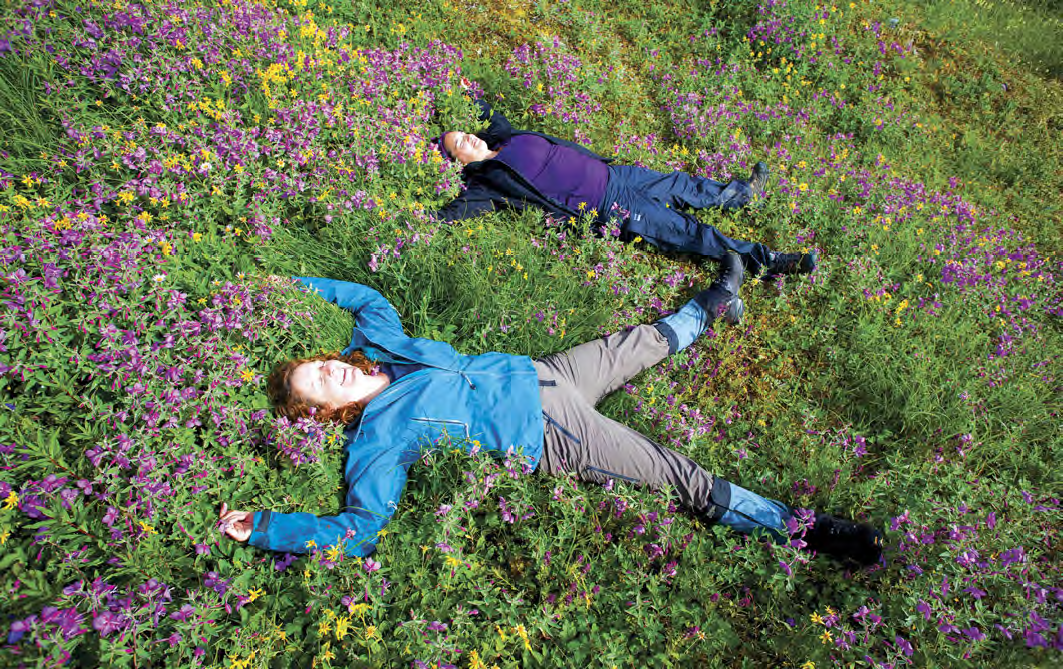
Have fun taking photos in the field, using flowers as colourful props
Western Australia is known for vibrant fields carpeted in everlastings during spring. In situations like this, crouch down low or lie on your stomach. Using a wide-angle lens, tilt the camera up slightly so that you don’t make the common mistake of placing the subject of your image smack bang in the centre of the frame, just because that’s where your focusing point is.
Move your focus point so that your image intersects a Rule of Thirds gridline. Otherwise, my preferred method is to focus on a point one-third of the way into the shot then, holding the shutter release button down halfway so that the focusing remains locked in place, reframe your image the way you want. Without consciously thinking of it, my subject often intersects a Rule of Thirds gridline because that’s what naturally appeals to my eye.
By the way, there’s a good chance the viewing screen at the back of your camera will have a Rule of Thirds grid to guide you. On my camera, I can turn it on via the ‘grid display’ in the camera menu. It works by drawing lines so that the rectangular frame is split into three horizontal and vertical segments. Place your subject on, or along, one of these lines, or ideally at the point where the horizontal and vertical lines intersect. More often than not, the image you shoot will be more engaging than one where the subject is placed in the middle.
Backlit waterfalls create vibrant shots
CHASING WATERFALLS
With melting snow gushing off the mountains and rivers filling after winter rains, spring is also a great time to photograph waterfalls in full flow. The exception to that rule, of course, is in tropical regions where waterfalls peak during the summer wet season.
Anyone can freeze the flow of water when they point their camera at a waterfall. With your camera in automatic mode, that’s the likely result. Better though are photos where the water has that dreamy, blurred effect — a result of using a long exposure. Exactly how long depends on a variety of factors, including your aperture and ISO settings and whether or not you’re using filters.
Stability is one of the key factors required to achieve that dreamy effect. You’ll want the water to be moving but everything else in the image to be sharp. The camera shutter needs to be opened for at least a quarter of a second, or ideally longer, for that to happen. That’s too long for anyone but a surgeon to handhold their camera without it moving, producing an image that will be blurred or looking like it’s out of focus.
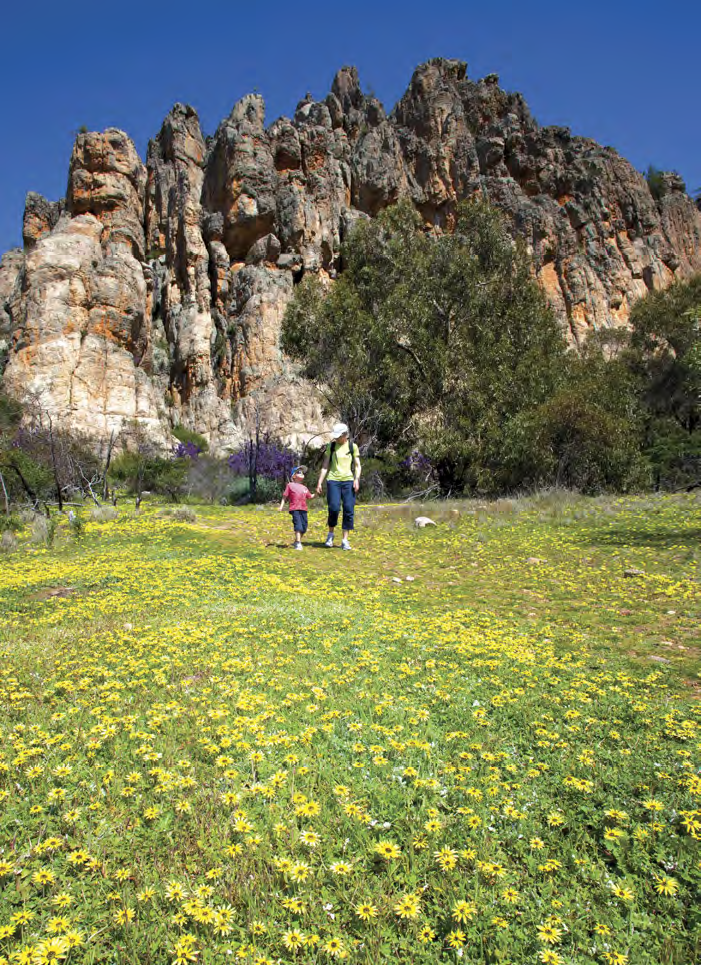
Crouch down low so the viewer’s eye can be led into the frame towards the subject
One essential piece of equipment to combat camera shake is a tripod. There’s no way around this, except by placing your camera on something solid like a rock, then using the camera’s self-timer facility or remote to take an image lasting several seconds.
Placing the camera on a rock often limits the angle or perspective you might be aiming for, which is why a tripod is better — it’s portable, after all.
By adding a Neutral Density (ND) filter to your lens, the amount of light entering your camera is reduced, thus enabling the shutter to stay open longer without overexposing the image. As a result, the water surface will appear smoother than if it was taken using a faster shutter speed. An ND1 filter reduces the amount of light entering the camera by one stop. An ND2 filter reduces it by two, and so on. Some photographers use ND10 filters. I have an ND4 filter in my camera bag.
If you don’t own an ND filter, a polarising filter screwed onto the lens works just as well, reducing the amount of light entering the camera by two stops while simultaneously neutralising glare or reflections on the water. It can also result in a more saturated image. You can combine a polarising filter with an ND filter for better saturation and longer exposures, but beware of filters ‘shadowing’, or vignetting, the corners of your frame on wide-angle lenses.

Use a rule of thirds grid to help frame your images
If you can only remember one tip, make it this: waterfalls are best photographed on bright overcast days when the light is even. On sunny days, shadows caused by rocks and trees contrast against overexposed reflections on the water. These can be difficult to correct in post-production. If it is sunny, aim to shoot early or late in the day, before or after the sun has had a chance to penetrate the scene.
Waterfalls are also easier to photograph in still conditions when the surrounding foliage doesn’t blur from blowing in the breeze during long exposures. The longer the exposure is, the greater the chance of seeing movement in ferns and leaves.
Like flowers, I suggest trying several angles when photographing waterfalls, and to try zooming in on a section of the waterfall as well, or shooting it from one side.
Get down low to the water and use a wide-angle lens, using leading lines (a shallow creek beneath the waterfall, perhaps) to create a more interesting composition. Beware of water spray on lenses and try to reduce clutter and distractions such as protruding branches and logs from straying into the image.
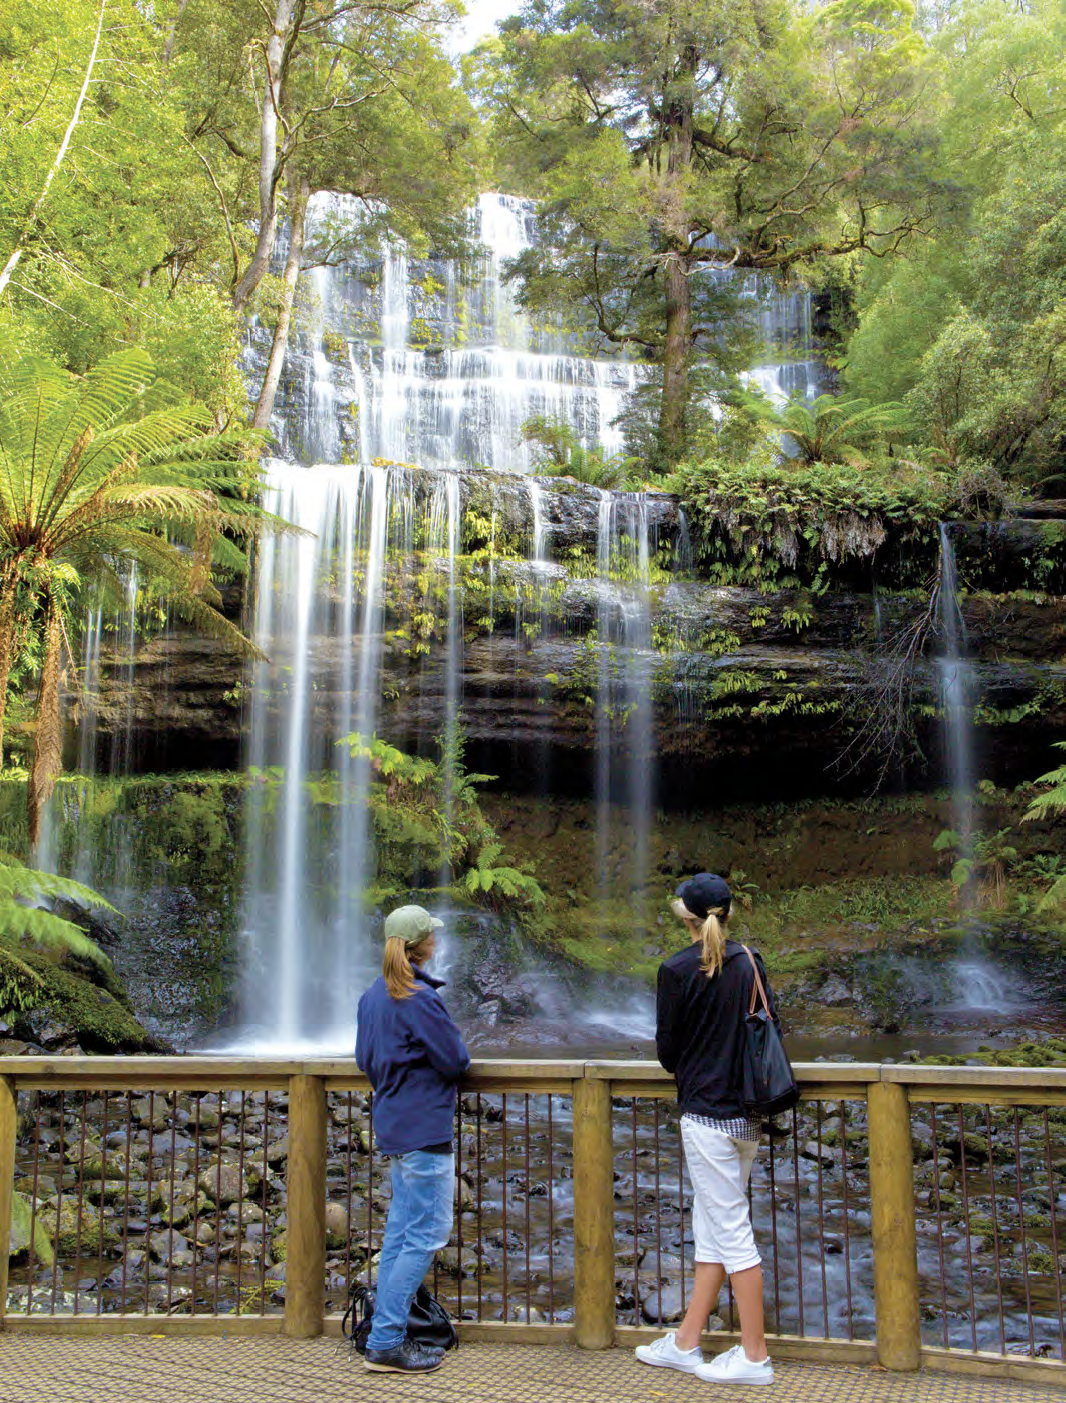
For scale, include a person in the shot, instructing them to be as still as possible so they remain sharp in the image. Believe me when I say that it can be hard for people to stay still for as little as one second, so take more than one shot just to be sure!
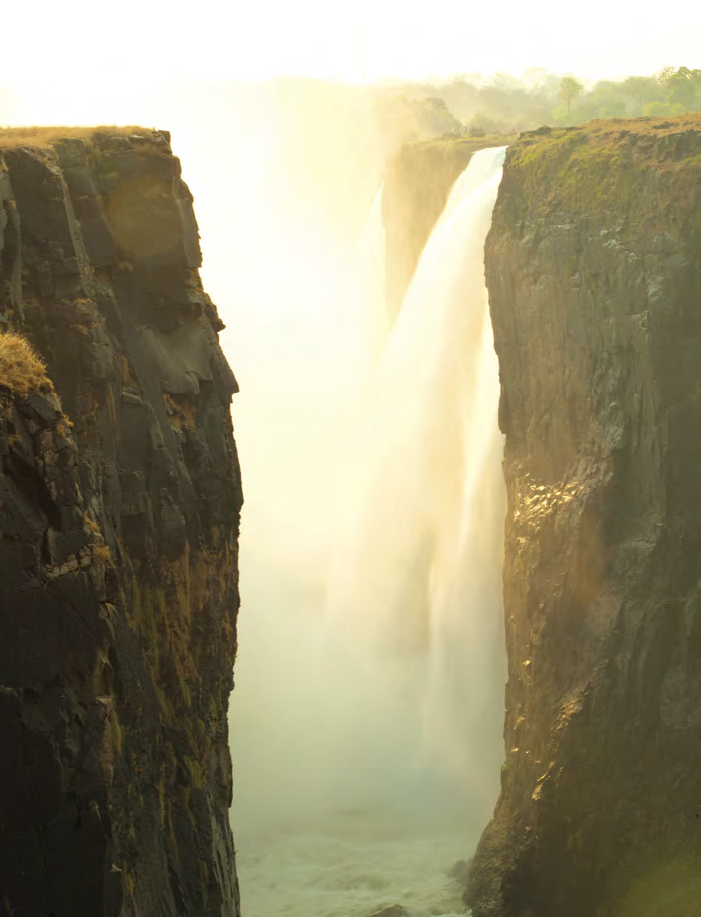
A backlit Victoria Falls in Southern Africa, photographed using a quarter-second exposure
SHOOTING STARS
In Australia, the Milky Way is visible from February to November, with optimum viewing months between May and September. For the best results, you’ll need dark skies. And for the darkest skies, go somewhere far away from the bright lights of the cities and towns and pick a time around the new moon.
A good rule when taking shots of the Milky Way is to include something in the foreground with the Milky Way arcing over it like a rainbow, or curving skywards towards the top left- or right-hand side of the frame. A foreground subject might be a lighthouse, a cottage or a tree, or even something recognisable like Uluru or the Devil’s Marbles. These days, astrophotographers use smartphone apps like Photo Pills or The Photographer’s Ephemeris to plan shooting sessions. These apps can help you work out where and when the Milky Way will be relative to your subject.
After choosing a suitable foreground — ideally during daylight hours — use what’s known as the 500 Rule to work out your camera settings. Since the Earth moves constantly, stars will blur in your image if you leave the shutter open for too long. You therefore must choose a shutter speed that’s long enough to allow enough light into the camera, but not too long that it will cause the stars to blur in your image.
Add people to scenes for a sense of scale
Choose the widest lens you have to fit as much of the Milky Way into the frame as possible.
Then simply divide 500 by the focal length of your lens to give you your maximum shutter speed. For example, if you’re using a 16mm lens on a digital camera with a full-frame sensor: 500/16 = 31.25 seconds. I’d round that down to 30 seconds, typically with my lens focused on infinity, my aperture wide open at f/2.8 and an ISO of around 3200. The higher the ISO, the more ‘noise’ (formerly called ‘grain’ on film cameras) there will be in the image.
Of course, you don’t have to include the Milky Way in a photo. Sometimes a starry night will do just fine. For the sake of simplicity this time around, I won’t go into taking star trail shots which require time, patience, mathematical skills and editing on Photoshop or Lightroom — maybe another time though.
Use wide-angle lenses and long exposures for a three-dimensional effect
Category: Features
Written: Wed 01 Sept 2021
Printed: September, 2021
Published By: