The Wanderer
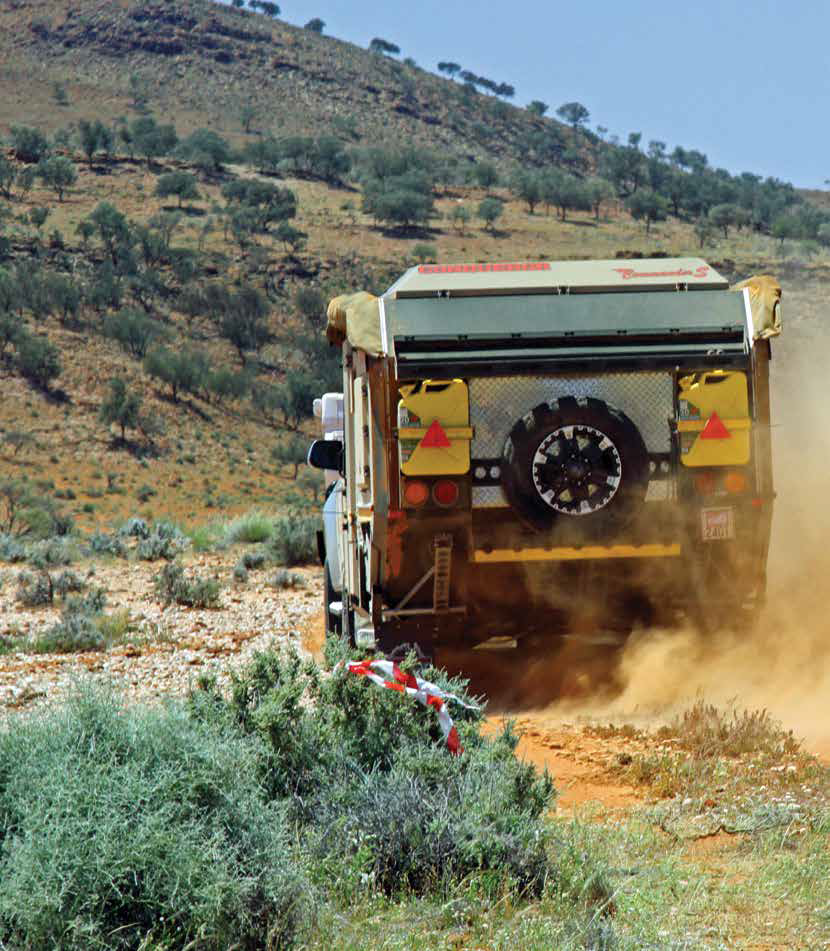
If there is one thing that gets up the nose of every RVer— literally, as well as figuratively— it’s the fine layer of dust spread across the interior of the van after a road trip. Intrusive, pernicious and sticky, this fine red or beige menace knows no bounds, making its way onto our table tops, floor, inside cupboards drawers, on the bedspread, and even the inside of our coffee cups.
It doesn’t just come from the deep holes filled with bull-dust in the far outback, either. It can occur across that short track down to the favoured riverside holiday spot. All it takes is just a few hundred metres and a steady rumble of traffic to pass your van. So how do you keep that fresh coating of red or beige on tour at bay? A little care and attention to detail can help.
PINCHWELD SEAL BASICS
These days, most RV manufacturers use proper pinchweld rubber seals on opening doors and windows, and if they’re not, they ought to. We’re also assuming they’ve chosen the correct profile to suit each application. It is vital there is no kinking of the bulb (the tubular section that is compressed by the closing door) or that the bulb is compressed no more than 25-50 per cent, as failure to meet these standards will lead to dust and water leaks.
If your pinchweld has yet to harden, and has no tears, you should be fine. An occasional wipe over with a silicon-based spray on a rag will prevent it sticking to the mating surface, which can result in it damaging the outer surface of the rubber and compromising the seal. Avoid using an oil-based spray as it will hold any dust it comes in contact with and become a problem all on its own.

Most RV manufacturers use proper pinchweld rubber seals on opening doors and windows which should help keep dust out
COMPRESSION LATCHES
Most doors to outer storage lockers and better entry doors to vans will have a compression factor to them, to assist in sealing. Compression latches are set at manufacture to seal against the new pinchweld seals, but may require adjustment (simply by adjusting the lucking nut/s on the interior) after a year or two to slightly tighten the pressure on the pinchweld bulb. Again, you don’t want to compress the bulb by more than 25-50 per cent as it can compromise resilience preventing it from properly sealing with the door.
N.B. Dust can build up in compression latches and keyed locks when you’re travelling on very dusty tracks, so next time you skip the bitumen try taping up the latches to keep it out.
WINDOWS
Windows can be a prime source of dust leaks if not sealed properly. Sliding windows must seal against the stationary pane, and will require a good sealing material to remain dust-proof.
Any sealant around existing windows that’s gone hard and begun to break must be replaced. You can use silicon-based materials effectively if you avoid bare metal (as it will react it) but they will become quite dirty externally with exposure to dust. Sikaflex or Bostik are better alternatives. Resealing windows is not a difficult task, but if you don’t feel up to it there are many professionals out there who can do it for you.
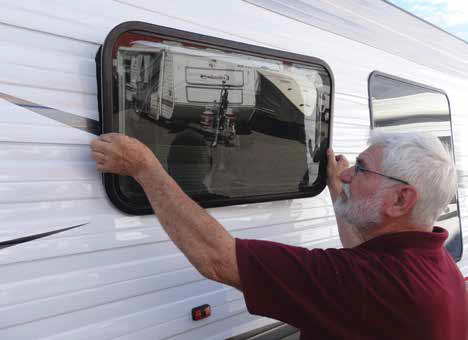
Any sealant around existing windows that’s gone hard and begun to break must be replaced
DUST ENTRY POINTS
Any hole cut in the shell of your van is a potential dust entry point, which is why off-road vans will have fewer holes. Exhausts for heaters, heat ducts at the back of refrigerators, hose entry points, drains, gas hoses, electrical cables, and other comforts create opportunities for dust to get in and make a mess. Air-conditioner units, which have an entry point to the van’s interior air space, can be a serious point of entry for dust into a van. Three-way gas fridges require vents to allow the heat to escape from the back of the fridge and provide access to their evaporator coils.
Look for drain or other points which you have open while camped, but which you don’t need while travelling, such as shower and sink drain points. Place plugs over the internal entry to drain points or put caps on the external drains outlets to prevent dust getting in. Just remember to remove anything you’ve installed when you’re at camp, and to reinstate them before you tow off.
Leaves and twigs under dust seals on pop-top roofs can be a major source of dust and water leaks. Check around the dust seal pressure points along the roof line and clean them off as necessary before lowering the roof, especially in leafy areas. In transit, make sure your roof on a pop-top or tilt-top is well clamped down so when the roof ‘walks’ from side to side over rough roads, dust can’t get in and dust any seals.
If you’re looking for a clever way to clear leaves and twigs from the top of your pop-top van, drag a tennis ball wrapped in an old towel along the pop-top gap with a long rope. A simple wipe with the same old towel along outer edges will complete the job.
PRESSURISED INTERIORS
If dust can force its way into your van then, theoretically, increasing the internal air pressure may stop it from happening. Positive pressure measures adopted by manufacturers and handy vanners include fitting a fan or an ‘air scoop’ to the roof forcing air into the van’s interior.
These either draw air in through, or push air through, an air filter compatible with popular vehicle types readily available from 4WD spare parts retailers. Supporters say the internal pressure only has to be the tiniest fraction higher than the natural external air pressure to ensure a dust-free environment inside.
Air scoops should be fitted towards the front of the van and up high to keep them out of the dust from the tow vehicle. Snorkel scoops can do a good job of achieving this. One of the issues with unpressurised scoops is that they rely on the motion of the van through the air, so that at low speeds, similar to what you’ll take on rough tracks, they’re less effective, which is why some travellers prefer to use a fan.
Effective use of positive pressure requires tight seals on all exit points for the air to retain the higher internal pressure.
To assist in making sure you have done a good job of minimising both air exit and entry points, place a bright light inside your van after dark and look for pinhole points of light, especially around inner guards, corners, where body panels meet or where any of those many service cables and hoses enter or exit the van. Seal up everything. Expanding foam can do the job in hard to get to areas, which are out of sight, or adhesive backed foam tape might be an answer. If you’re fitting a fan to increase the air pressure in your van, check it has a 100 per cent duty cycle rating so it can run constantly for long periods of time. Boat bilge blowers can do a good job in this regard. Avoid high current draw fans to limit consumption of valuable battery power.
Category: Features
Written: Wed 01 Aug 2018
Printed: August, 2018
Published By:
